
Oxygen Not Included Infinite Liquid Storage: 3 Builds
Build Oxygen Not Included infinite liquid storage with vent displacement, Escher waterfalls, or door compression. Learn how to contain pressure safely.
Jump to
How Does Infinite Liquid Storage Work?
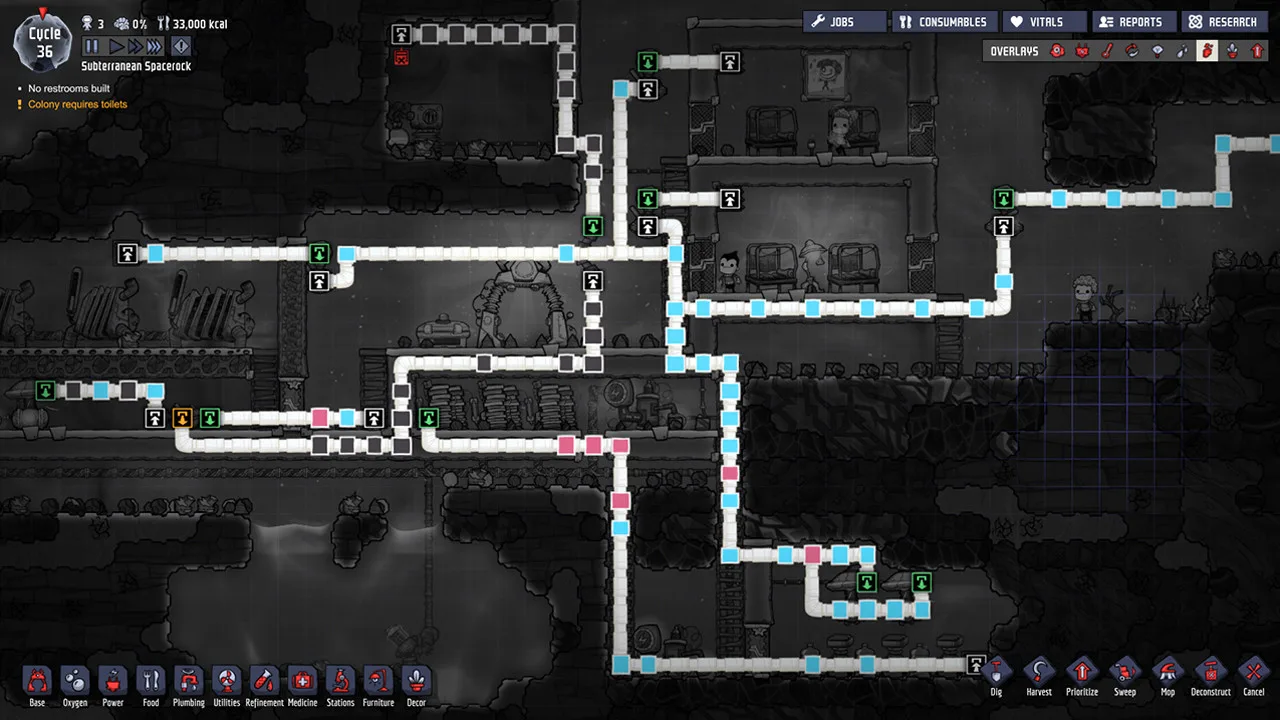
Oxygen Not Included infinite liquid storage works by keeping a liquid vent’s tile occupied by a small amount of another substance, or by forcing liquid into a chamber with an Escher waterfall or automated doors. These builds save tank space, but require pressure-resistant containment. Install a liquid pump before sealing the chamber.
The trick comes from the game’s element simulation: each cell contains one element, even when a shallow puddle makes it look partly empty. A vent can therefore sit in a small pocket of oil while the surrounding chamber holds an enormous mass of water.
| Method | What keeps liquid entering | Required setup |
|---|---|---|
| Vent displacement | A different element occupies the vent cell without overpressurizing it | A trapped liquid or gas pocket at the vent |
| Escher waterfall | Two different gases separate the inlet from the compressed storage | Carefully positioned gas cells and a primed liquid inlet |
| Door compression | Closing doors displaces liquid into the storage chamber | Mechanized Airlocks operated in a controlled sequence |
These designs exploit unusual displacement behavior. Use them if that fits your colony’s rules; ordinary tanks and reservoir buildings remain alternatives.
Official page: Oxygen Not Included (klei.com)
Build the Containment and Retrieval System First
Water normally collects at 1,000 kg per tile, while crude oil collects at 870 kg per tile. Those values describe ordinary pools, rather than an absolute ceiling on how much liquid a cell can contain.

As liquid accumulates, pressure can damage conventional tank walls. For compressed storage, use Airflow Tiles or locked airlock doors along the boundaries exposed to that pressure. Insulated Tiles help manage heat, but insulation alone does not provide the pressure resistance these builds need.
Before closing the chamber:
- Install a Liquid Pump where it can retrieve the stored liquid.
- Connect its power and output pipe.
- Choose pump materials with an overheat temperature suitable for the incoming liquid.
- Plan insulation around the assembly when temperature control matters.
- Finish any internal construction before the chamber becomes inaccessible.
A Liquid Reservoir building holds 5 tons across six tiles. Infinite storage instead compresses liquid directly into map cells; placing a reservoir building inside a tank does not make the building’s own capacity unlimited.
Vent Displacement: Trap Another Element at the Outlet
This method keeps the Liquid Vent from sharing a cell with the heavily compressed stored liquid. A small pocket of another element occupies that cell, allowing incoming liquid to move into the surrounding storage.

For water storage, a small amount of crude oil can serve as the displacement liquid. A trapped gas pocket can perform the same role, but the chamber must keep it in position.
Set Up the Displacement Pocket
- Build the pressure-resistant chamber. Include the retrieval pump, its connections, and the incoming Liquid Vent.
- Create a confined pocket at the vent. Its geometry must hold the displacement element in the vent’s cell while leaving the incoming water somewhere to move.
- Add a small amount of the secondary liquid. Use a Bottle Emptier to introduce crude oil rather than filling the pocket with a large delivery.
- Seal the chamber and start the water input. Watch the vent cell as the surrounding water accumulates.
- Inspect the element occupying the vent cell. The displacement pocket must remain present without reaching the vent’s overpressure condition.
Do not judge the pocket by its animation alone. A tiny amount of liquid still occupies an entire simulation cell. Hover over the cell or inspect the Materials Overlay to identify its contents.
Temperature matters just as much as placement. Keep both the stored liquid and the displacement liquid within their liquid temperature ranges. Freezing or boiling changes the element arrangement that the build depends on.
Escher Waterfall: Separate the Inlet With Two Gases
An Escher waterfall uses two different gases at the boundary between an inlet and the storage chamber. The arrangement allows incoming liquid to keep falling into storage as the chamber’s mass increases.

The gases must remain in their intended cells, ordered by density. Oxygen above carbon dioxide is one supported pairing; hydrogen above oxygen is another.
Prime the Chamber Before Releasing the Gases
- Fill the storage chamber and inlet with the liquid being stored. Complete the chamber’s enclosure while preserving the intended inlet.
- Prepare two different gases in separate pipe endpoints. Gas Bridge inputs can help draw gas packets into the terminal pipe segments.
- Maintain the liquid barrier at the inlet. The cell beside the gas pockets and the next cell along the inlet need liquid so the gases cannot exchange positions and escape outward.
- Release the gases into their intended cells. Deconstruct the prepared pipe segments while Duplicants still have access.
- Continue feeding liquid into the entrance. Observe both gas cells and confirm that the falling liquid enters storage without dislodging them.
This build depends on inlet geometry. Keep the two gas cells and their adjacent liquid barrier intact when adapting the chamber to your base.
For a water geyser, route its output through the waterfall inlet into a separate compressed chamber. This applies the same separation mechanic to accumulating geyser water. Keep the geyser’s collection area and the storage chamber distinct when planning the layout.
Door Compression: Push Liquid Into Storage
Door compressors use Mechanized Airlocks to move liquid through a sequence of temporary spaces. As the doors close, they displace the captured liquid toward the final chamber.
In a four-door arrangement, number the doors 1 through 4 from top to bottom. The operating sequence is:
- Open door 1 to admit liquid.
- Open doors 2 and 3 so the liquid moves downward.
- Close doors 1 and 2, trapping the captured liquid farther down.
- Open door 4 to connect that liquid with the storage chamber.
- Close doors 3 and 4 to finish pushing it into storage.
Automation can repeat this cycle with a Timer Sensor, Buffer Gates, and a Filter Gate. Mechanized Airlocks can operate without power, although powering them speeds up their movement.
Keep an escape path into the storage chamber available during compression. Door arrangements can delete material when their closing sequence leaves it nowhere to go. Test the door sequence in sandbox before connecting it to a colony’s water supply.
The storage chamber still needs pressure-resistant boundaries. Door compression changes how liquid enters; it does not remove pressure damage from ordinary surrounding tiles.
Troubleshoot Stopped Flow, Pressure Damage, and Heat
Diagnose the inlet and the retrieval system separately. A chamber can contain plenty of water while its output pump or pipe network remains blocked.
- The Liquid Vent reports overpressure: Inspect its exact cell. Restore the displacement pocket if stored water has replaced it, and check whether too much secondary liquid occupies the vent.
- Water stops entering an Escher waterfall: Check that both gases remain in separate cells and that the adjacent inlet cells still contain liquid.
- Walls crack or leak: Inspect every boundary touching compressed liquid. Replace pressure-vulnerable containment with Airflow Tiles or locked airlock doors.
- The pump overheats: Check incoming liquid temperature against the pump’s overheat limit. Choose suitable construction materials before sealing a replacement inside.
- The displacement liquid freezes or boils: Correct the temperature problem before restarting the inlet; the original cell arrangement depends on that liquid remaining stable.
- A door compressor loses liquid: Watch a complete cycle and check whether closing doors trap liquid without an available destination.
The November 19, 2026 Quality of Life update added a Pipe Flow sub-overlay to Plumbing and Ventilation, with animated flow direction and blockage indicators. Use Pipe Contents to inspect incoming packets and Pipe Flow to locate backed-up sections. For phase-change failures, inspect the damaged pipe’s status item, which now explains why its contents broke the pipe.
Continue with
 Oxygen Not Included Pipe Blocked for No Reason: FixesOxygen Not Included pipe blocked for no reason? Fix water flow by checking bridge direction, full cooling loops, bathroom overflow, and shutoff automation.
More in Water
Oxygen Not Included How to Store Water: Tank Guide
Oxygen Not Included how to store water: build liquid tanks, use 5-ton reservoirs, prevent pressure damage, and explore infinite storage before sealing up.
Oxygen Not Included Polluted Water: Clean It and Reuse
Manage Oxygen Not Included polluted water with a Water Sieve, reuse bathroom wastewater, control polluted oxygen, and remove germs for safe colony use.
Join the community
Official channels for news, updates and player help: